struct Imageenum Scaleenum Orientationenum ResizingMode Technology
Image sizes vary widely, from single-pixel PNG files to digital photography images with millions of pixels. Because device sizes also vary, apps commonly need to make runtime adjustments to image sizes so they fit within the visible user interface. SwiftUI provides modifiers to scale, clip, and transform images to fit your interface perfectly.
Consider the image Landscape, a photograph with the dimensions 4032 x 3024, showing a water wheel, the surrounding building, and the sky above.

The following example loads the image directly into an Image view, and then places it in a 300 x 400 point frame, with a blue border:
    Image("Landscape_4")
        .frame(width: 300, height: 400, alignment: .topLeading)
        .border(.blue)
As seen in the following screenshot, the image data loads at full size into the view, so only the clouds from the upper left of the original image are visible. Because the image renders at full size, and the blue frame is smaller than the original image, the image displays beyond the area bounded by the frame.
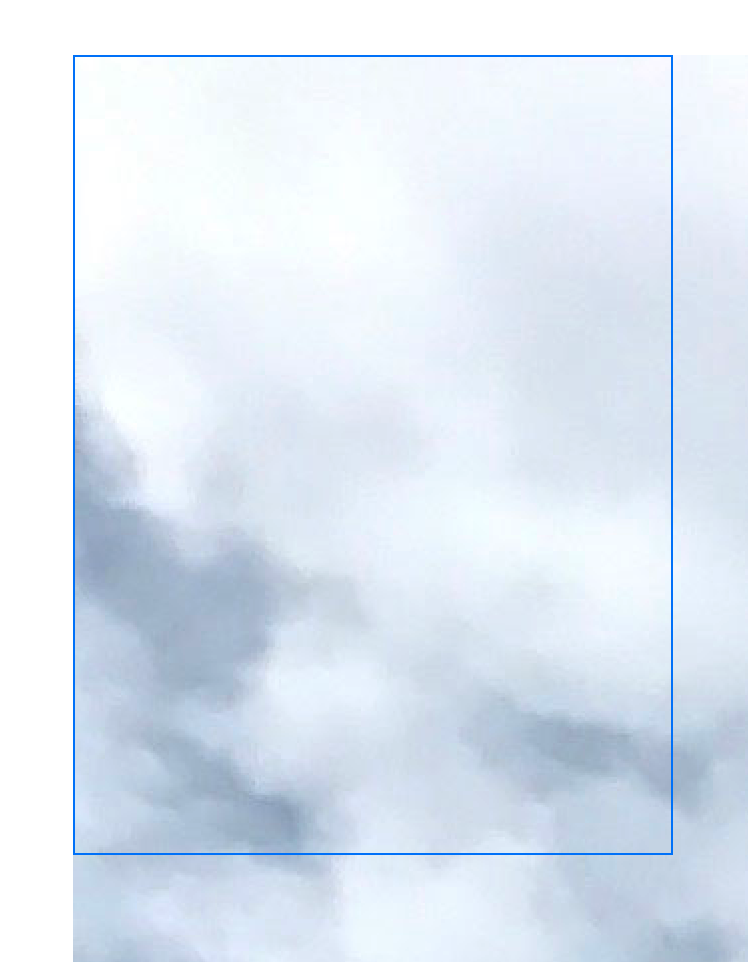
To fix this, you need to apply two modifiers to the Image:
resizable(cap tells the image view to adjust the image representation to match the size of the view. By default, this modifier scales the image by reducing the size of larger images and enlarges images smaller than the view. By itself, this modifier scales each axis of the image independently.
aspect corrects the behavior where the image scaling is different for each axis. This preserves the image’s original aspect ratio, using one of two strategies defined by the Content enumeration. Content scales the image to fit the view size along one axis, possibly leaving empty space along the other axis. Content scales the image to fill the entire view.
  Image("Landscape_4")
      .resizable()
      .aspectRatio(contentMode: .fit)
      .frame(width: 300, height: 400, alignment: .topLeading)
      .border(.blue)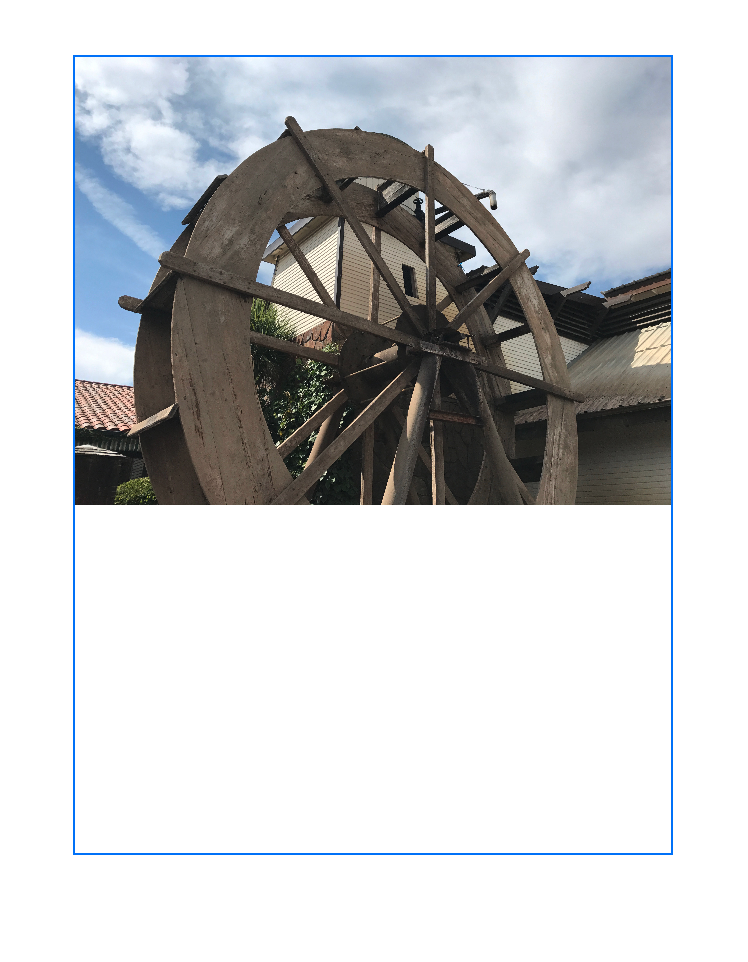
If you use Content when scaling an image, a portion of an image may extend beyond the view’s bounds, unless the view matches the image’s aspect ratio exactly. The following example illustrates this problem:
    Image("Landscape_4")
        .resizable()
        .aspectRatio(contentMode: .fill)
        .frame(width: 300, height: 400, alignment: .topLeading)
        .border(.blue)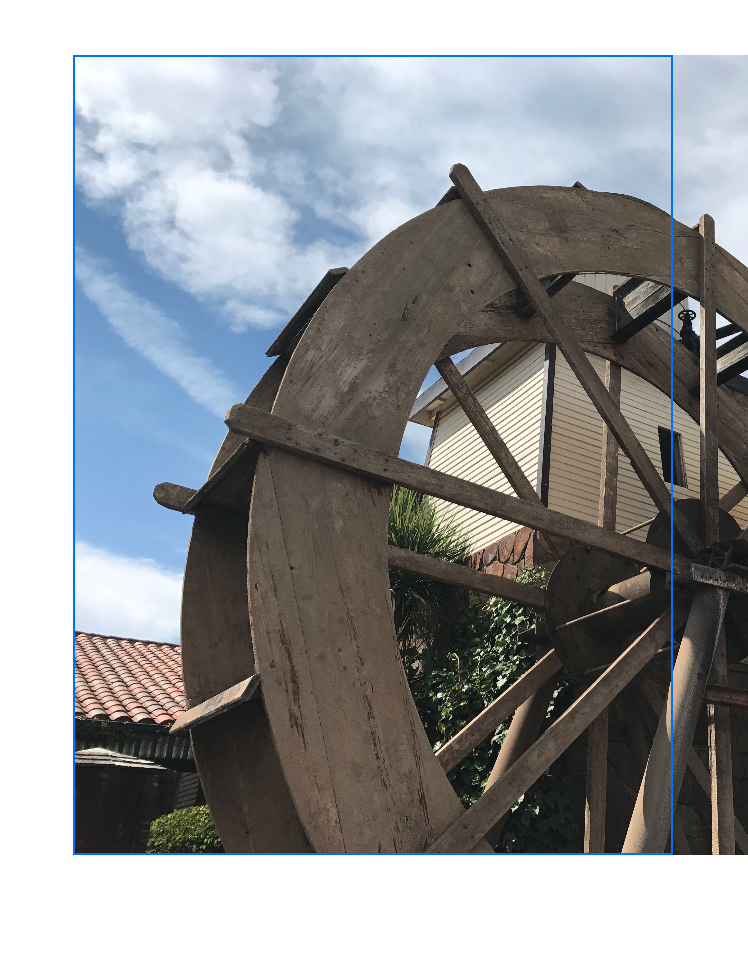
To prevent this problem, add the clipped(antialiased:) modifier. This modifier simply cuts off excess image rendering at the bounding frame of the view. Optionally, you can add an antialiasing behavior to apply smoothing to the edges of the clipping rectangle; this parameter defaults to false. The following example shows the effect of adding clipping to the previous fill-mode example:
    Image("Landscape_4")
        .resizable()
        .aspectRatio(contentMode: .fill)
        .frame(width: 300, height: 400, alignment: .topLeading)
        .border(.blue)
        .clipped()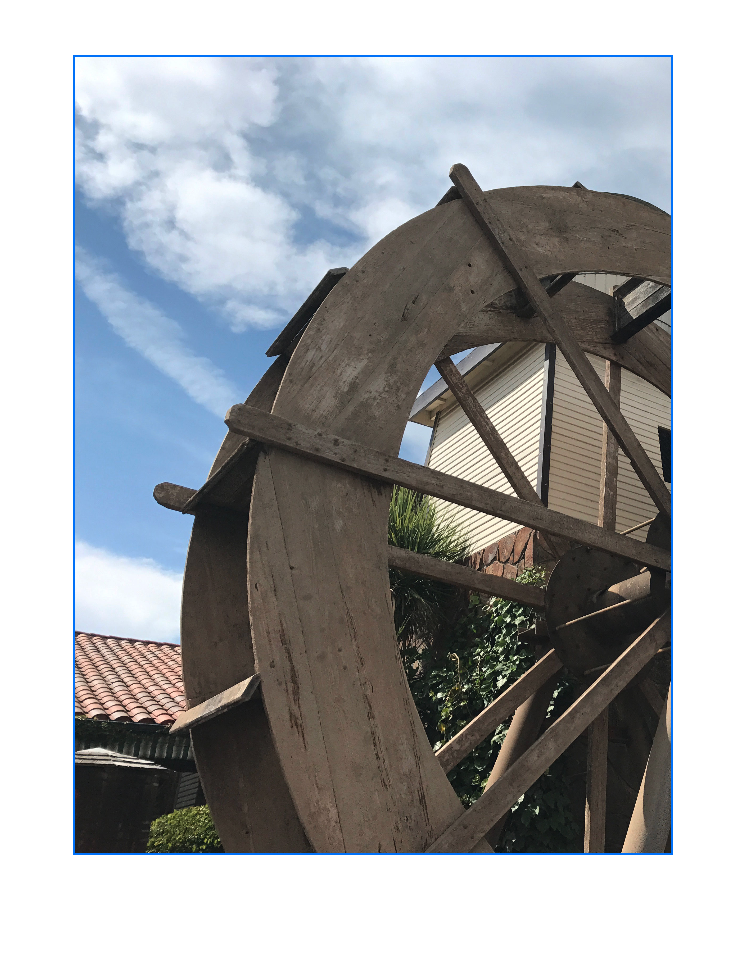
Rendering an image at anything other than its original size requires interpolation: using the existing image data to approximate a representation at a different size. Different approaches to performing interpolation have different trade-offs between computational complexity and visual quality of the rendered image. You can use the interpolation(_:) modifier to provide a hint for SwiftUI rendering behavior.
It’s easier to see the effect of interpolation when scaling a smaller image into a larger space, because the rendered image requires more image data than is available. Consider the following example, which renders a 34 x 34 image named dot into the same 300 x 400 container frame as before:
    Image("dot_green")
        .resizable()
        .interpolation(.none)
        .aspectRatio(contentMode: .fit)
        .frame(width: 300, height: 400, alignment: .topLeading)
        .border(.blue)
Passing the Image value to interpolation(_:) produces a highly pixelated image when rendered.
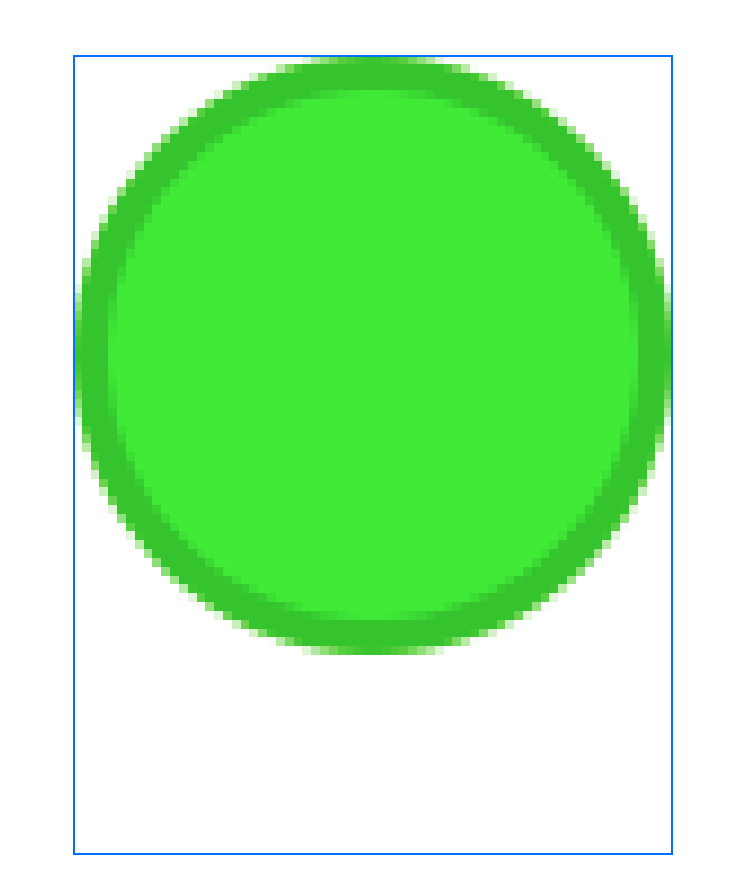
If you change the interpolation value to Image, SwiftUI smoothes out the pixel data to produce an image that isn’t as pixelated:
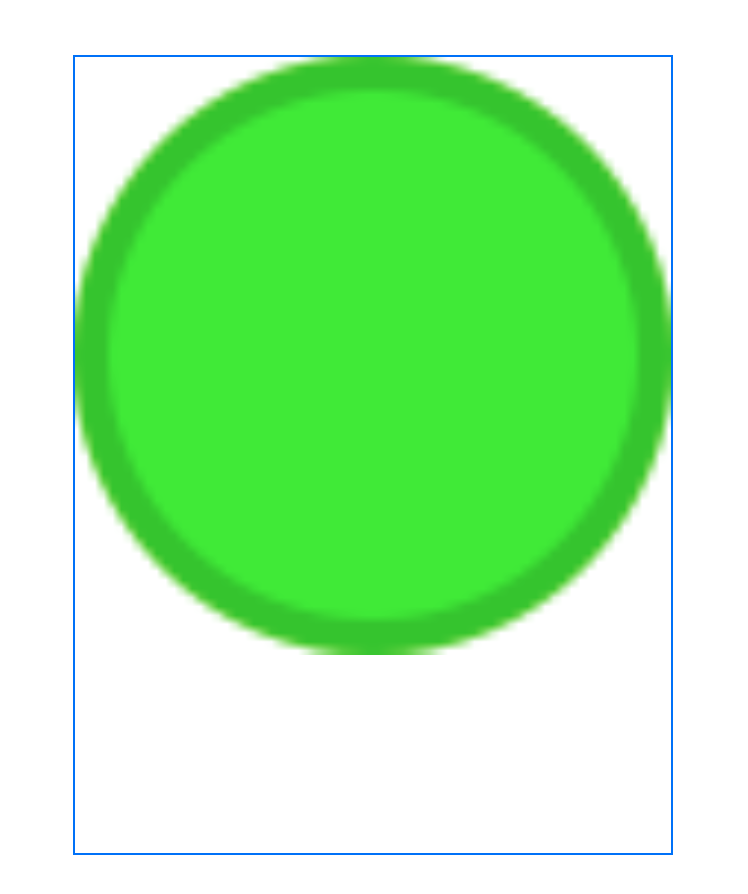
Tip
You can also specify interpolation behavior when scaling images down, to ensure the highest quality image possible, fastest rendering time, or a behavior in between.
When you have an image that’s much smaller than the space you want to render it into, another option to fill the space is tiling: repeating the same image over and over again. To tile an image, pass the Image parameter to the resizable(cap modifier:
    Image("dot_green")
        .resizable(resizingMode: .tile)
        .frame(width: 300, height: 400, alignment: .topLeading)
        .border(.blue)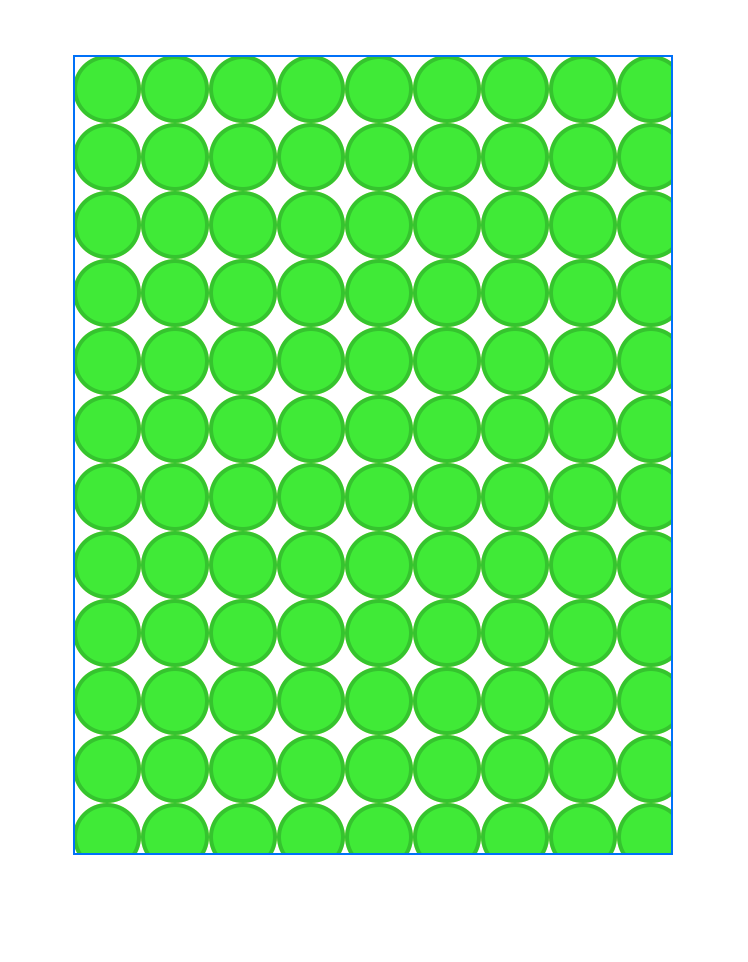
Tiling can be particuarly useful when using an image that, when placed end-to-end with copies of itself, creates a larger pattern with no visual discontinuities.
struct Imageenum Scaleenum Orientationenum ResizingMode